The Art of Water Photography: Capturing the Ocean’s Beauty

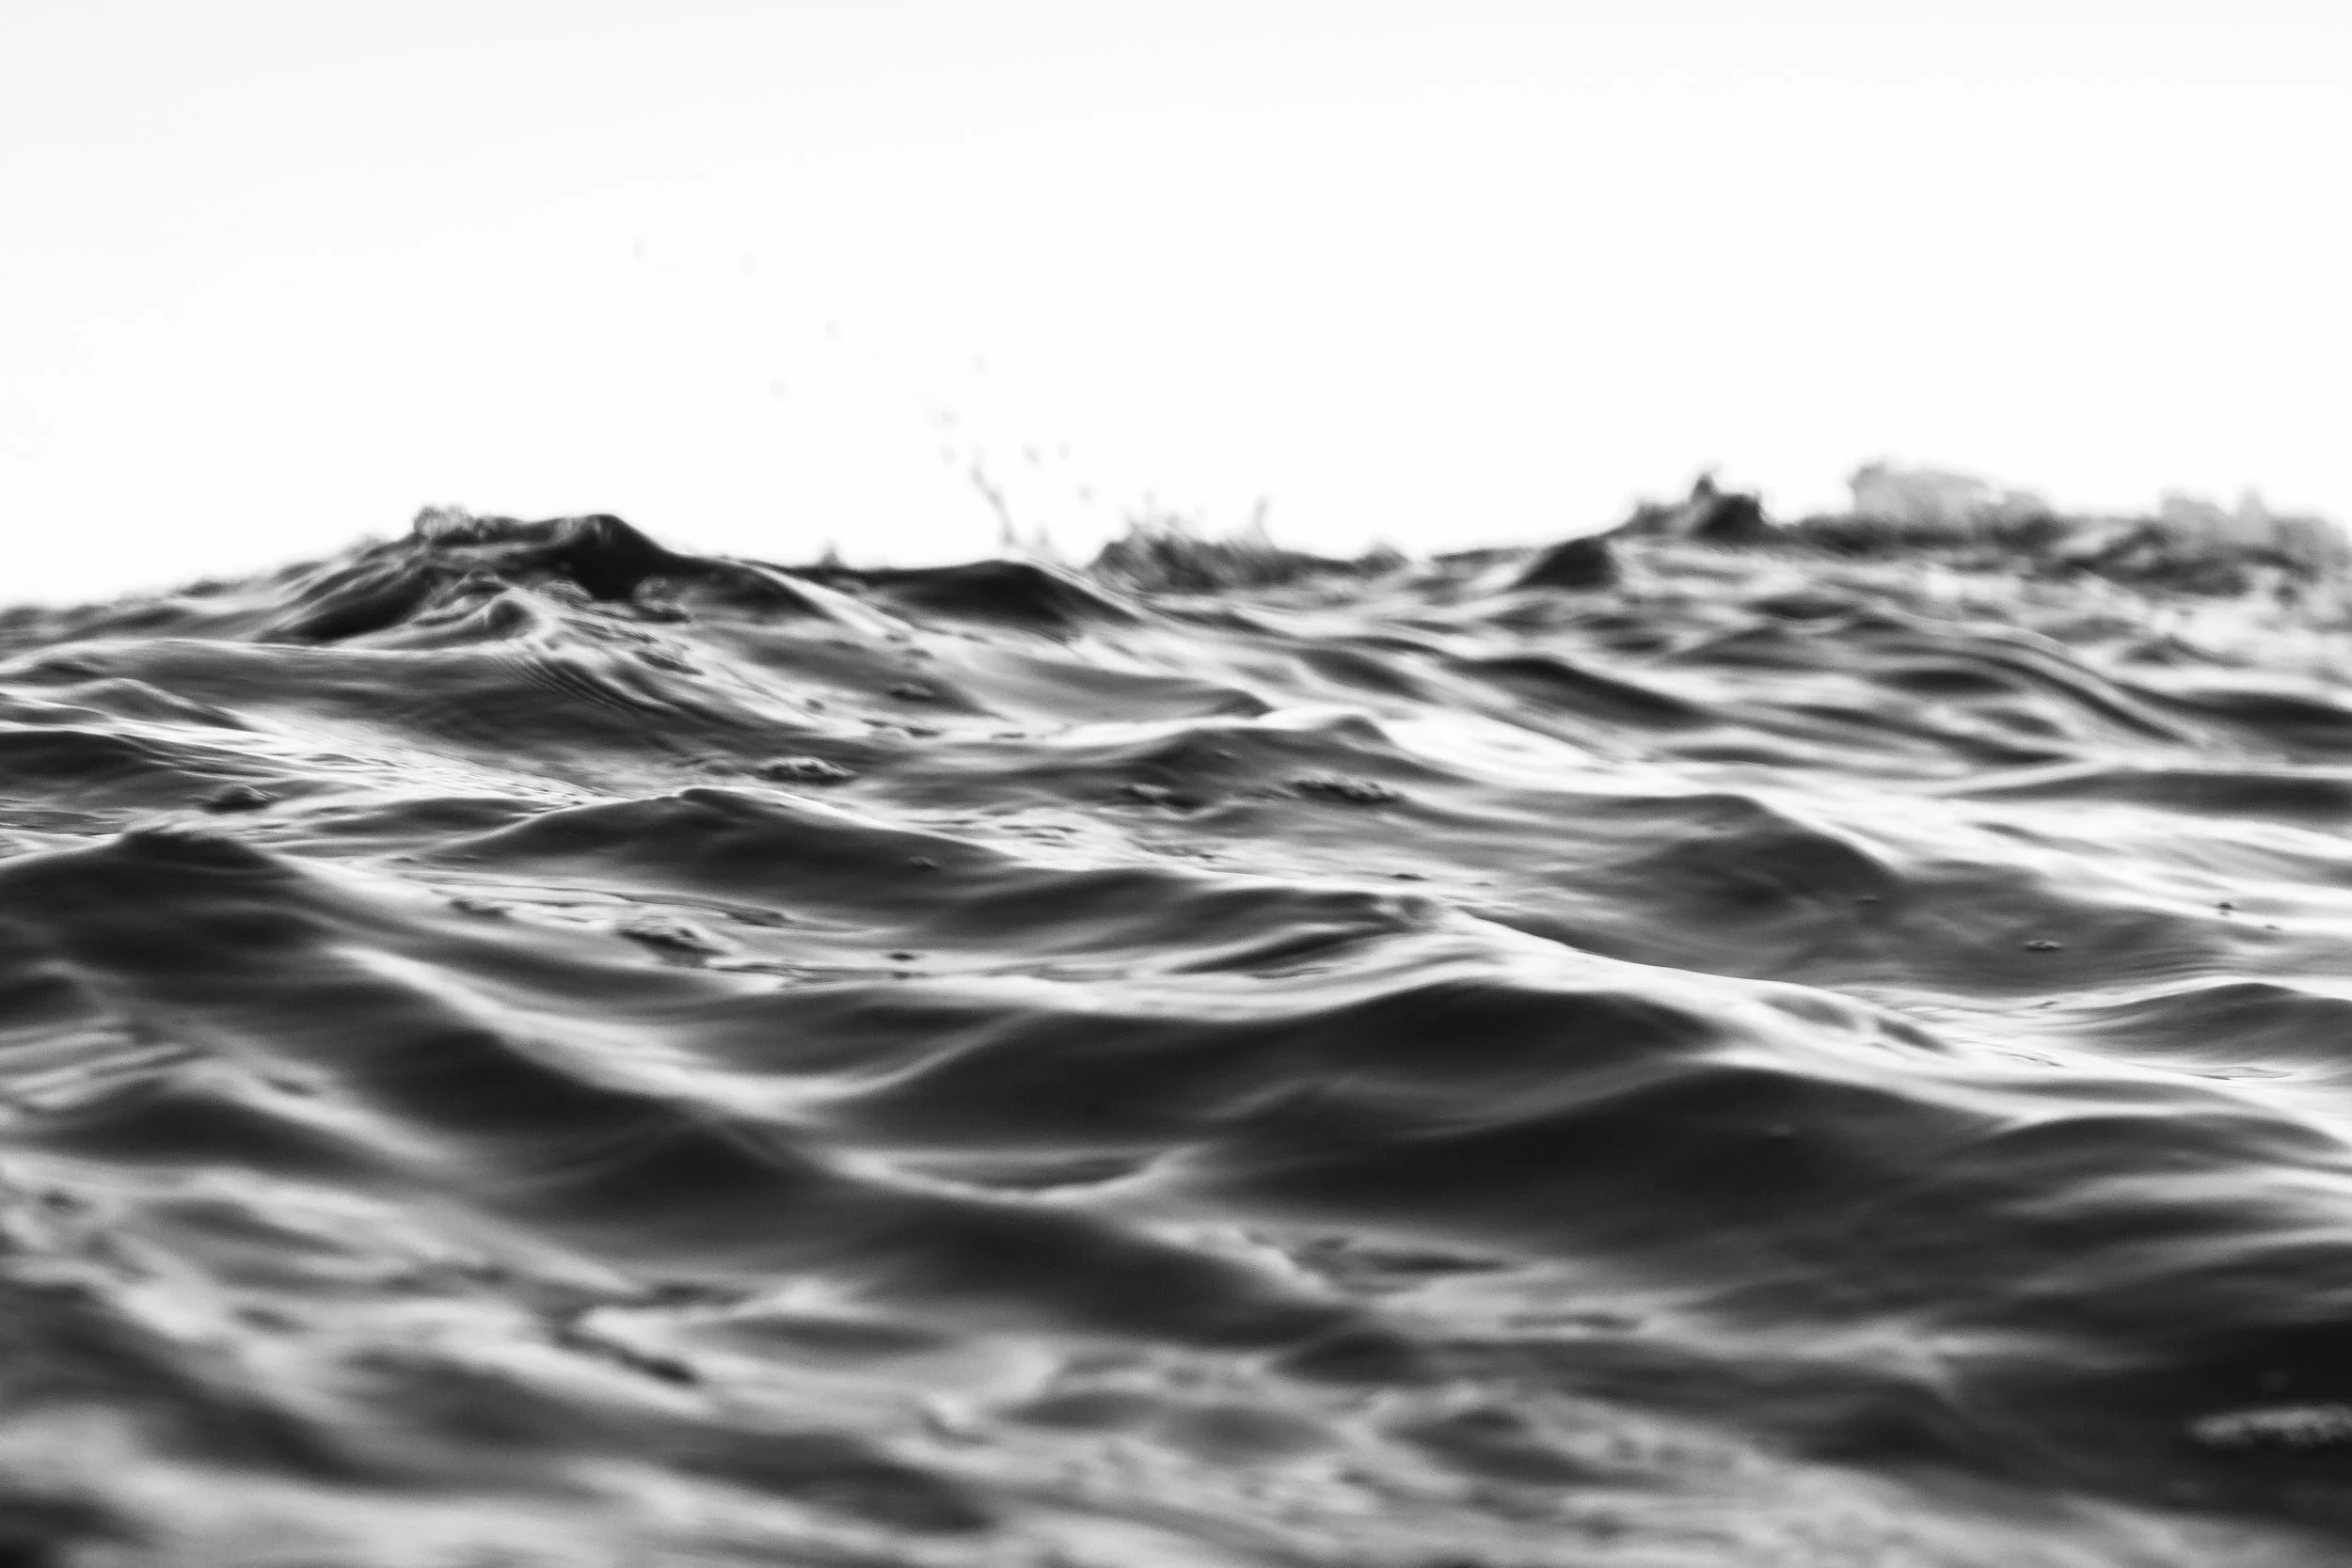
Trigg Beach
Water photography is a captivating niche that brings you closer to nature, offering endless opportunities to capture the ever-changing beauty of the ocean. Unlike drone photography, which provides sweeping aerial views, being in the water gives you a more immersive, grounded experience—one where you can feel the power of each wave.
The ocean is a truly mesmerising subject. With its infinite variety of shapes, colours, and movements, no two moments are ever the same. In this guide, I’ll walk you through everything I’ve learned since diving into water photography—from essential gear and camera settings to editing techniques and how to showcase your work. Whether you’re just getting started or looking to refine your skills, this guide will help you create compelling ocean imagery.
Essential Gear for Water Photography
To get started with water photography, you don’t need the most expensive setup—just reliable, waterproof gear and a creative eye.
Waterproof Cameras vs. Camera Housings
A waterproof camera like a GoPro is an easy, compact solution, especially for beginners. For those using DSLRs or mirrorless cameras, a durable housing like Aquatech is essential for underwater or waveside shooting.
Best Lenses for Water Photography
Wide-angle lenses: Ideal for capturing vast seascapes or getting close to the action.
Telephoto lenses: Great for compressing distances and isolating subjects like surfers or waves from afar.
Macro lenses: Useful for detailed shots of textures, sea foam, or water droplets.
Filters and Accessories
Polarising filters help reduce glare and enhance the blues and greens in your scene.
ND filters can be useful for long-exposure photography, especially when shooting motion blur in bright light.
My current gear:
Canon EOS 60D
Canon EF 50mm lens
Aquatech waterproof housing
GoPro Hero 6
It’s worth remembering that your gear doesn’t define your results—how you use it does. Most of my equipment is second-hand or years old, but it still helps me capture incredible shots. Upgrade only when it makes sense for you.
Mastering Camera Settings for Water Photography
Dialling in the right settings can make or break your shot, especially in a fast-paced environment like the ocean.
Recommended Settings:
Mode: Aperture Priority
Shutter Speed: Fast for crisp, frozen motion (1/1000+); slower for silky, blurred waves (1/8–1/30).
Aperture: Around f/9 for a good depth of field and sharp focus.
ISO: Set to auto-range to allow flexibility based on lighting conditions.
Focus: Autofocus with a central focus point to lock onto the most dynamic part of the wave.
File Type: Always shoot in RAW to maximise editing potential.
While these are my go-to settings, feel free to experiment and adapt them based on your subject, environment, and creative goals. There’s no one-size-fits-all formula in ocean photography—just guidelines to help you find your rhythm.
Understanding Light and Conditions
Light and water interact in stunning, unpredictable ways. The right conditions can elevate your photos from good to breathtaking.
Best Times to Shoot:
Golden hour: The soft, warm tones make water glow beautifully.
Blue hour: Cool, serene colours right after sunset.
Midday: Surprisingly useful in water photography—overhead sun enhances clarity and reveals vibrant underwater details.
Weather Tips:
Calm conditions produce smooth, mirror-like reflections and clean wave shapes.
Stormy or overcast skies create drama, texture, and contrast in both the sky and sea.
Always prioritise your safety and the safety of those around you. Unpredictable ocean conditions can be dangerous, so never push beyond your limits.
Composition Techniques for Stunning Water Photos
Framing a great shot while in the water is challenging but rewarding. It requires fast reflexes, anticipation, and a deep understanding of movement.
Composition Ideas:
Leading lines and curves: Use wave patterns or shoreline angles to guide the viewer’s eye.
Reflections and symmetry: Capture still water for painterly reflections—perfect on calm days.
Rule of thirds: Position the horizon or wave at one-third lines for balance.
Negative space: Isolate your subject against a minimal background to draw attention.
Human interaction: Surfers, swimmers, or snorkelers can bring narrative and scale—just be respectful and ensure you have their consent.
These are things that you can experiment with and play with each time you go out. Try to switch things up and try something new to see what works for you.
Types of Water Shots to Explore
There’s more than one way to photograph the ocean. Try different techniques to find your creative voice.
Freezing motion: Fast shutter speeds to capture droplets mid-air or the moment a wave breaks.
Motion blur: Slower shutter speeds create a dreamy, ethereal feel.
Crashing waves, ripples, and splashes: Each tells a different story.
Over-under (split shots): Combine above and below the surface for a unique perspective—best done with a dome port on your housing.
Underwater scenes: Capture marine life or abstract textures beneath the surface.
Similar to the previous step, this is an opportunity to experiment and find what suits your personal photography style and what you enjoy. Your local conditions also play a big factor in which of these will look best.
Editing Water Photography for Maximum Impact
Editing is where your creative vision truly comes to life.
My Editing Workflow:
I use Lightroom Classic on Mac, applying presets to batch-edit quickly.
I focus on enhancing contrast, sharpening details, and boosting natural blues and greens.
I avoid over-editing—too much saturation or clarity can make water shots look unnatural.
Tips:
Start with presets (I initially used other photographers before creating my own).
Remove distractions like seaweed or unwanted background clutter.
Always edit with intention—don’t just make a photo look “better,” make it feel right.
Want to try my ocean photography presets? Click here to download them and speed up your workflow. See the difference they make here.

As with everything, this is my workflow that works for me; you can spend more or less depending on your budget and preferences. Although Lightroom is commonly used, it is not the only photo editor out there. On desktop, there are free apps like Photopea, and on mobile, you can use apps like Snapseed or the free version of Adobe Lightroom mobile.
Showcasing Your Water Photography
Taking a great photo is only the beginning—sharing it with the world completes the journey.
Ideas to Showcase Your Work:
Prints: Frame your favourite shots or sell them as high-quality art prints.
Social media: Use platforms like Instagram to build a following. Use relevant hashtags like #waterphotography or #oceanart to reach your audience.
Online portfolio: Create a dedicated gallery to highlight your best work and share your story.
I use Squarespace for my website—it’s easy to manage, customisable, and beginner-friendly. Whether you want to blog, sell prints, or just show your art, it’s a great place to start. You can check out my work at twoonethree.com.au and see how I’ve turned my passion into a creative business.
Conclusion
Water photography presents endless opportunities to create stunning, emotionally charged imagery. With the right gear, techniques, and mindset, you can start capturing the ocean’s ever-changing beauty and share it with the world.
Remember:
Use the gear you have and build from there.
Embrace all kinds of weather and lighting whilst remaining safe.
Find your editing style.
Don’t be afraid to experiment—creativity thrives in motion.
Feeling inspired? Browse my latest ocean prints at twoonethree.com.au or follow me on Instagram at @twoonethree_photography for more tips, behind-the-scenes content, and wave-chasing adventures.
Mettams
Meta Description: Explore expert techniques for photographing waves, reflections, and underwater scenes with stunning results.